Part One: Preparing for Install
Having done this the right and wrong way a few times before, I feel pretty safe in saying that bees are really smart and you can’t really mess this up for them too much. However, you can mess it up for yourself and that can be your bigger concern, if you don’t feel like buying new hives every Spring!
You can choose from different types of hives – Langstroth, Top-Bar, Warre, Flow.
There are advantages and disadvantages to each (which you can find many resources for with a simple internet search) and you will get varying opinions, depending on a beekeeper’s objective. For instance, if you want hands-off honey harvesting, you might not go with the same hive as someone who was simply looking to support/increase the bee population.
Our beekeeping ambitions are: foster honey production (because we love all things honey!), support bee population, and pollination of our garden and farm.
This instructional is for the installation of Langstroth beehives and packaged bees.

I’m sure you have heard of the three things that matter most in real estate… Location, location, location! Well, that’s true about establishing a home for your bees too. You need to consider the following when choosing the location of their new home.
- Proximity to a Water Source. This might be a natural source, like a pond or creek. They will need this for cooling and for honey production. If hives will be distant from a natural source, consider providing water for the bees. We have done this with rubber feed pans or other buckets of water, with floaters (plastic lids, wine corks…) for the bees to sit on so they do not drown.
- Access to Sunlight. The temperature of a hive signals the bees as to what work needs to be done. When it is cool, the bees will cluster together to keep warm. As it warms up, they will take on their various tasks; including, harvesting pollen and nectar. Thus, putting hives in a shaded area will prevent the necessary warming of the hive that cues the start to their workday.
- Direction Hives Face. The rule is to face the opening of your hives EAST. As the sun rises (in the East) and hits the front of the hive, the bees will be drawn out towards it, then will begin their scouting duties.
- Pollen/Nectar Sources. The middle of a concrete jungle might not be the most friendly of places for bees, as far as food sources go. Although I have read that bees can travel up to seven miles for food, that type of demanding hunt for food would hinder productivity and compromise the hive.
- Away from Potential Harm. Wind blocks, neighbors, dogs, and farmers that use pesticides are all factors to consider when choosing the safest place for your hive.
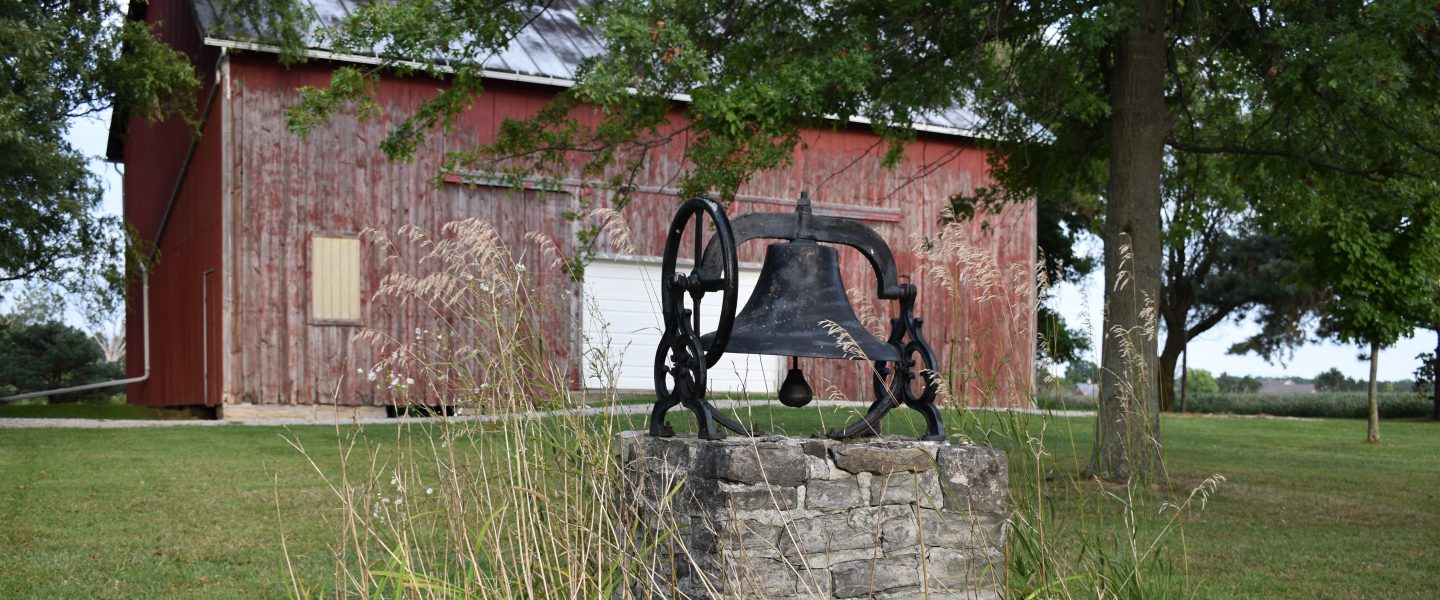
We have chosen to house our bees in a little valley at Honey Bell Farm. There is a little creek that runs near by, for a water source. Also, our pond is about 70 yards off.
Nearby evergreens will provide a little protection from high winds, without blocking the sun.
Basic Equipment You Will Need:
- Bottom Board (Screened or Solid)
- Hive Box (8 or 10 Frame, we typically use the 10 frame medium)
- Frames and Foundation (we used plastic foundations)
- Hive Stand
- Inner Cover
- Lid
- Smoker
- Hive Tool
- Bee Suit
- Rubbing Alcohol
- Gloves (Leather or Rubber)
- Bee Feeder


First off, you need to decide how you will keep your hives off of the ground. Sitting directly on the ground will prevent necessary airflow, which can lead to moisture issues in the hive. Also, a little elevation can help deter some of the pests that will inevitably find your hives and want to make a home of them or at least snag an easy meal.
You can most certainly buy hive stands and save yourself the time and energy… but we don’t operate that way!
We have placed hives on pallets and cinder blocks before, but are trying this approach being that we have fought mice, ants, and other pests in the past. Matt utilized old 4x4s to create our hive stands. He sunk them in with a post hole digger and set them by packing them in with gravel.
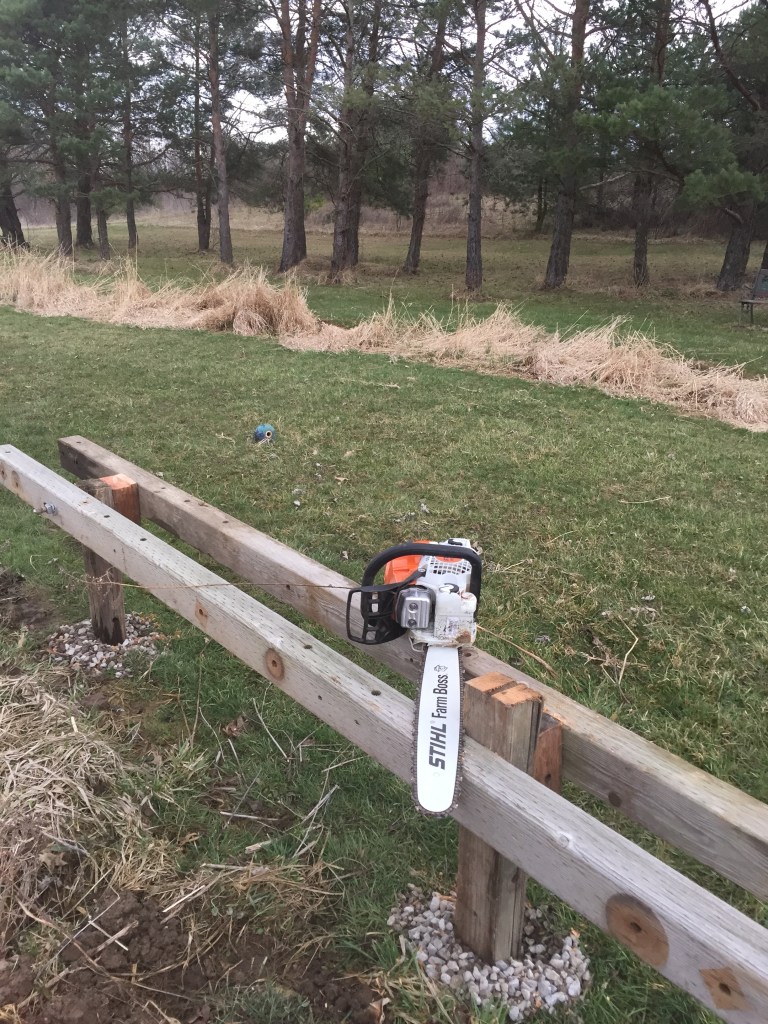
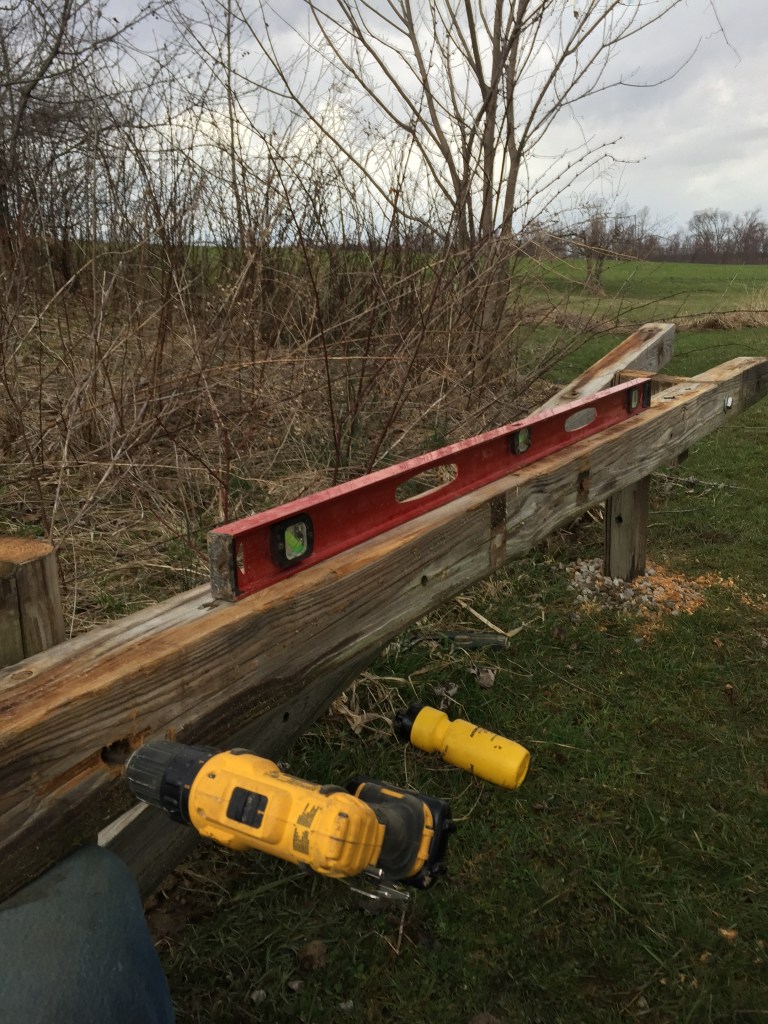

It is all fastened together with 5/8″ bolts. The finished product is approximately 2′ off the ground and 20′ long (two 10′ sections).
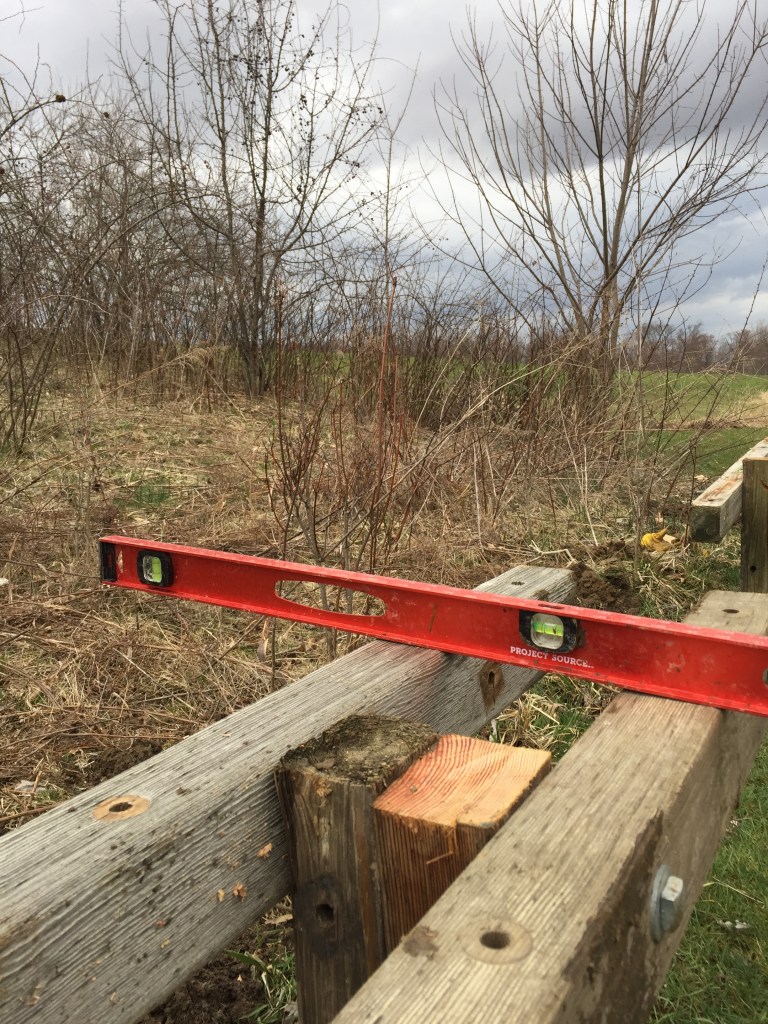
Matt is meticulous and would probably use a level, regardless of the magnitude of the project. That is how we differ, I would just slap the thing together and call it good. However, in this case, being level DOES MATTER. Bees are very efficient and will work as such, they will not rely on your hive being level to guide their work. Rather, gravity will steer the building of comb. Thus, if your hive is not level, you can expect to see a lot of cross comb (this is comb that connects frames and makes it hard to inspect hives).
With this built, we staged the empty hives so we are ready to drop the bees in once we pick them up… Keep following along as we describe bringing the bees to their new homes!
